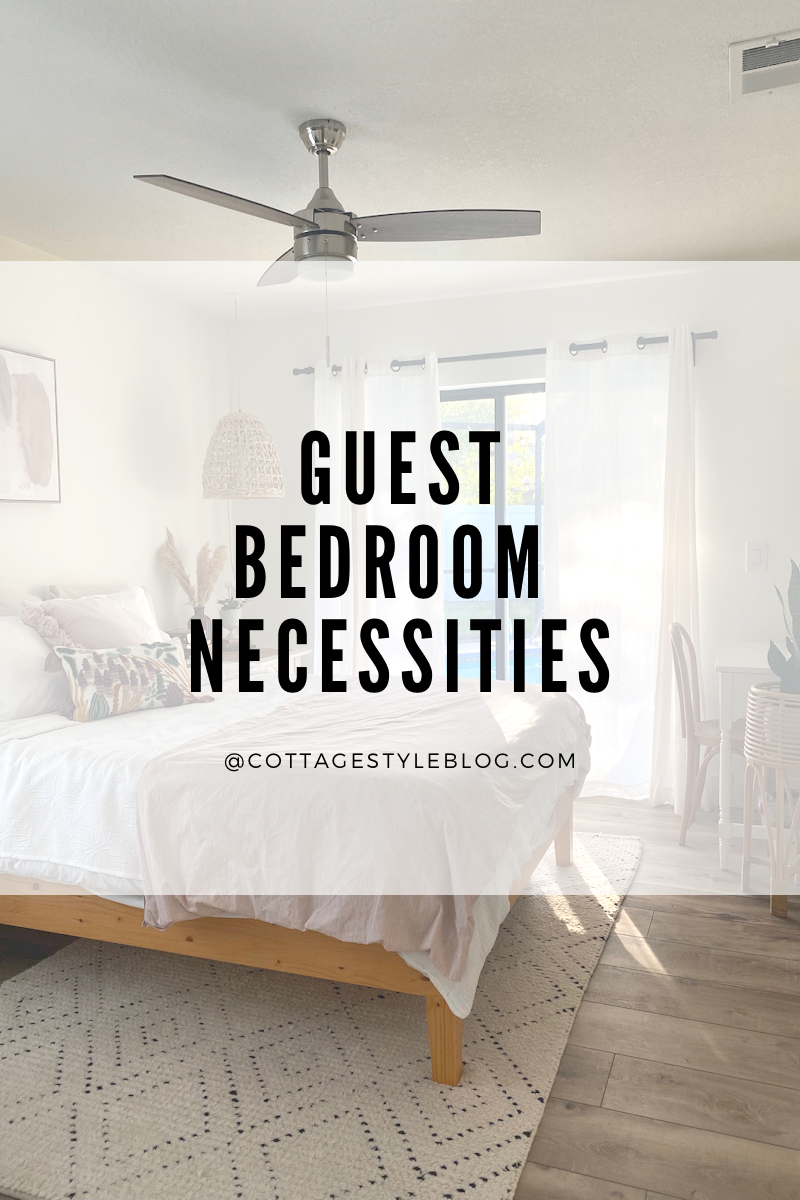

Sponge Painting - DIY
/Hello friends! I love the look of wallpaper but I have to admit that I’ve hesitant to use it since I love to change the look of my rooms so often. Well, I have found a temporary solution! Try sponge painting. Yep, I said it! The sponge painting craze from the 80’s is back! Read on to see what I did to create an accent wall in one of the bedrooms at our cottage Airbnb.
Here is a before pic of the room that I wanted to spruce up.
Bedroom at Our Uptown Cottage Airbnb - AFTER
Here is the after:
Bedroom at Our Uptown Cottage Airbnb - After
This is a super-duper, easy-peasy project! It literally took me 2 hours and I would have finished it sooner except that I took a phone call when I was about 1/2 way done. :-)
Okay, so here is what I did….
I bought a pack of Cello Sponges (for $2 at the Dollar Store) and cut two sponges into leaf shapes.
I am using white paint (that I had on hand) as my sponging color.
I dabbed the sponge into the paint and then onto a cardboard (to remove the excess paint).
Then I dab the sponge onto the wall - pressing it gently.
I wanted a random leafy look and so I moved my sponge to different places and changed the direction of the placement of the sponge. I would stand back every now and then to make sure it was looking uniform (to some degree!).
I kept this process going until I was finished. I would dip my sponge in paint and then dab it onto the wall - about 4-5 times before I added more paint to the sponge. I didn’t want a super uniform look but something a bit more muted with some leaves being brighter than others. You can do this however you want and you can even add different types of shapes or colors to your wall!
Make sure you check out Jessica Davis who is a fellow Airbnb Host and who gave me the idea for this project!
Happy Decorating -