
Creating an Accent Wall with Weaber Wall Boards
/Hello friends! How are you? I hope you’re doing well and enjoying the cooler days of Fall.
I’ve been helping with a project at my local church in Frederick, MD. They had a very basic wall in their foyer that needed to be spiced up. So, we collaborated with Weaber Lumber to transform the entrance of their building by creating a modern accent wall. It’s the first thing people see when they walk in and….wow! What a difference as you will notice from the pictures! I am all about making spaces warm and inviting and this accent wall really brought in both warmth and texture - which is what this foyer needed.
Let me know you a before pic…..
Before:
We recently painted the brick in the foyer a charcoal color and after we did this, the wall just seemed so blah. That is when we reached out to Weaber Lumber and they were very generous to help us out with this project! I can’t say enough good things about this company. They are FABULOUS to work with and so helpful!
These wall boards are great because they are already stained and ready to go. All you need to do is cut them to the size you need and then nail them up! These are the tools you will need for this project:
Weaber Wall Boards (We used the Weathered boards - each are approx. 4" x 48" x 1/2")
Chop Saw
Nail Gun
Tape Measure
Ladder (We used scaffolding because the space we were doing was over a stair well.)
And…someone brave who will stand on the scaffolding!
The guys from our church put these up and it only took them one day to complete this entire wall. In fact, I was out of town and hoping to get over to grab more before pics and by the time I got there, they were almost finished! I love these boards because they are durable and made from solid hardwoods. They also have other styles to choose from which are so pretty, too!
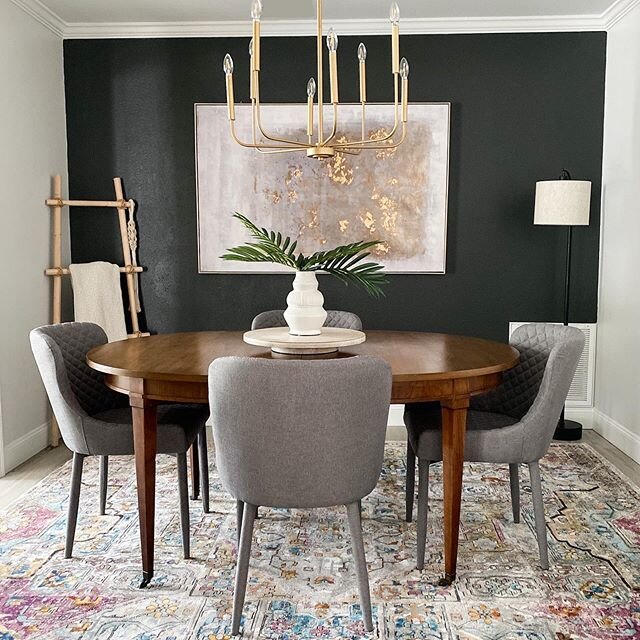
NOTE: Here are a few pictures of the boards that I placed in my Dining Room. I used the whitewashed boards. I still love them and get so many compliments on them! Check out this former blog post where I give you detailed instructions on how to install these boards.
So, now let me show you some AFTER pictures of this project!
After:

NOTE: We still have a few things left to do in here (a metal sign - with the vision/values of the church will be placed on the back wall),
These Weaber Lumber wall boards have really transformed this space. Just as I get compliments about the wall in my house, the leaders of this church are also getting compliments on the updated foyer walls! Thank you, Weaber Lumber for your contribution to this project!
Happy Fall to each of you and Happy Decorating -