
How to Paint Kitchen Cabinets
/
One of the things that drew us to this home was the large kitchen. It was so much bigger than our other home where I barely had enough storage space for dishes, pots and pans. To be honest, I have always wanted a big kitchen so this was perfect!
The only thing I did not like was that the cabinets matched the floor. There was just TOO MUCH WOOD...at least for my taste.


So, this is when I began to research the idea of painting my kitchen cabinets. I mean...I paint everything else (right?)....walls, ceilings, furniture, and pretty much anything else that I can touch...so why not? My husband kept saying, "Lisa, these are NEW cabinets...why would you paint them?" I would respond with, "I know I'm crazy...but I would really love a white kitchen!" So, I waited and researched and prayed that he would agree to let me tackle this project!
He eventually came around and he even agreed that it would brighten up this space. (Yay!) So with his green light, I began the adventure of painting my kitchen cabinets. It's been two years and my cabinets are holding up great! So many people have asked how I painted them so I put together this step-by-step tutorial to guide you...just in case you want to paint yours.
Supplies needed:
Degreaser (I purchased mine from The Dollar Tree)
Angled brush, Paint pan, gloves
Foam roller (made for cabinets or smooth surfaces)
Painters Tape
Drop Cloths and paper cups (to put underneath cabinets)
Primer
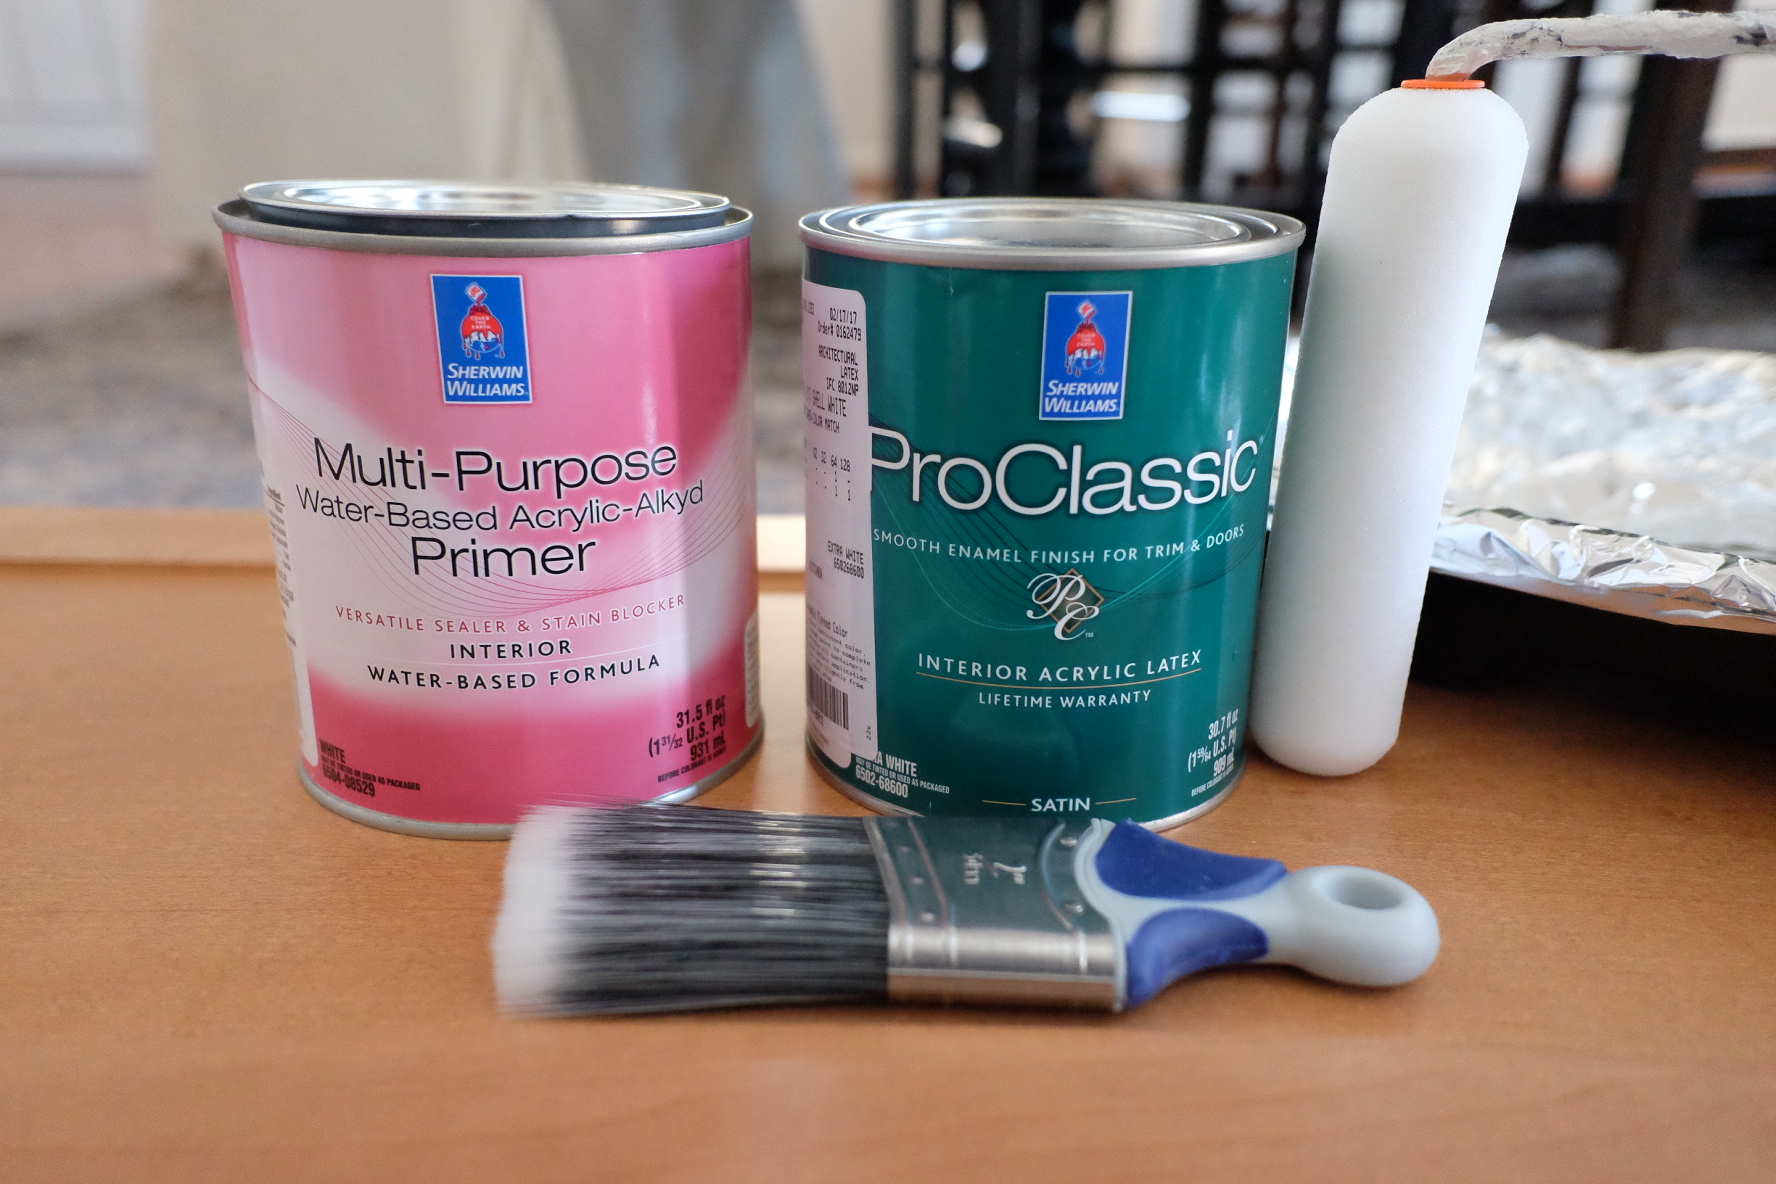
Paint (A good paint! One that is specifically for cabinets and is self-leveling.)
You can ask the friendly person at your paint store and they can help you find which product is best for you. I love Sherwin Williams Pro-Classic paint because it dries very smoothly. It is worth every penny to use good paint.

Last but not least...you'll need a little time and energy! (This project can be done in 2-3 days...depending on the size of your kitchen.)
Here are the steps that I used:
1. Prepare a space to lay cabinets
This is important! You will be taking cabinets down so you will need to lay them somewhere for a few days. Prepare a space on your floor (as long as you don't have little children or animals that could touch them) or on a long table. I use drop cloths or old sheets to protect the surface and plastic cups to hold the cabinets up off of the floor/table. You can use your garage as long as it's not too dusty. A dust-free area is best for creating smooth cabinets.


2. Take cabinets down and number them
Why is this important? When your cabinets are laying horizontally, they will dry smoothly. As you take them down...make sure you number the cabinets (starting from a corner) and the actual place they go. This is VERY important so that they go back on the hinges easily. (I left my hinges up, but if you want, you can take them down. It will just be a bit more work to put them back up.) Also, make sure you take the cabinets off of your drawers and number those, too.

3. Remove hardware and fill holes with wood filler
If you're planning to replace your hardware, you will want to measure to see if your new hardware matches the original hardware holes. If they do....GREAT! You can skip this step! (Yippee!) If not, you will want to use a wood filler and then sand the holes so that they're smooth prior to painting.


I really like this product - Plastic Wood - as it requires no mixing and hardens quickly.
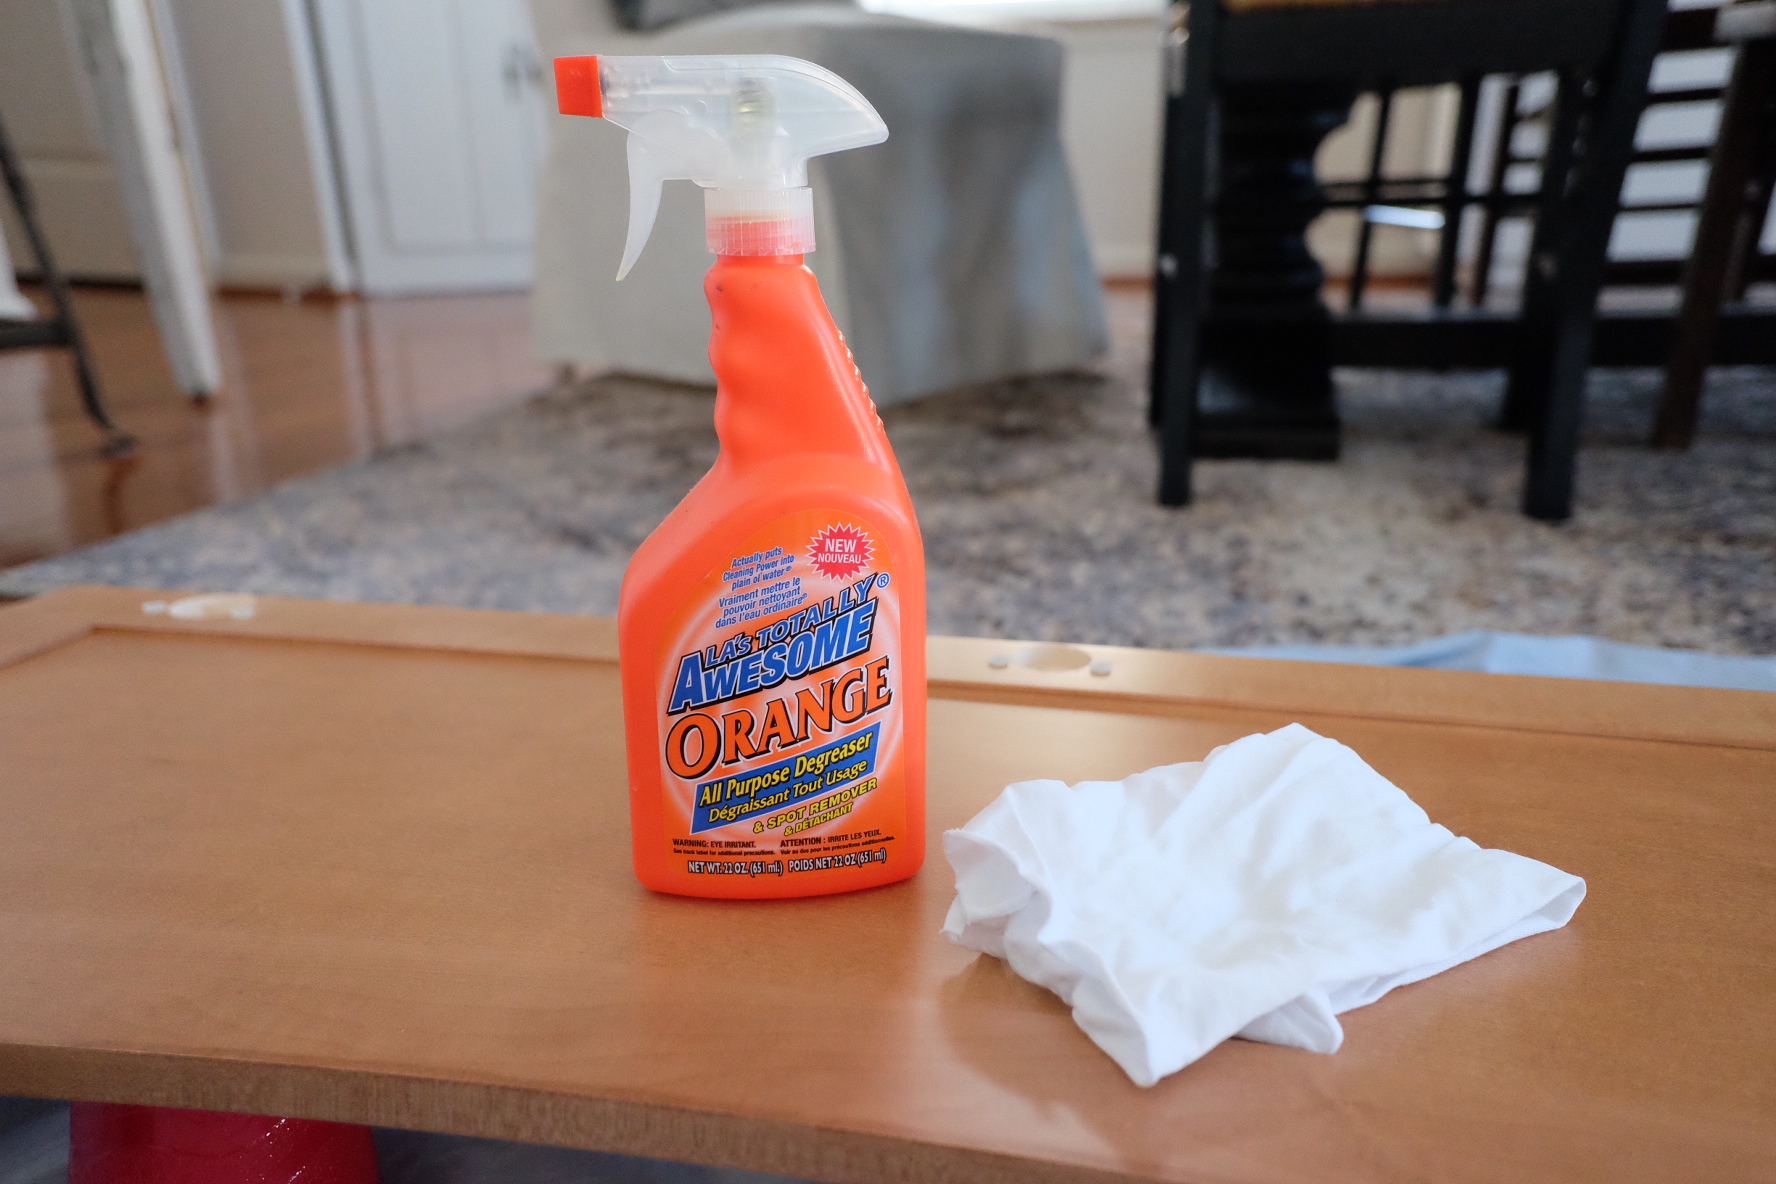
4. Wipe cabinets with degreaser

I use an Orange degreaser but you can find one at any home store. A degreaser basically will clean the surfaces of the cabinets and ALSO dull the finish so that the paint will adhere better. No need to sand...just degrease! :-) Make sure you wipe down every surface that you're planning on painting - including the molding of your cabinets!

5. Tape
Tape off areas where you don't want paint.

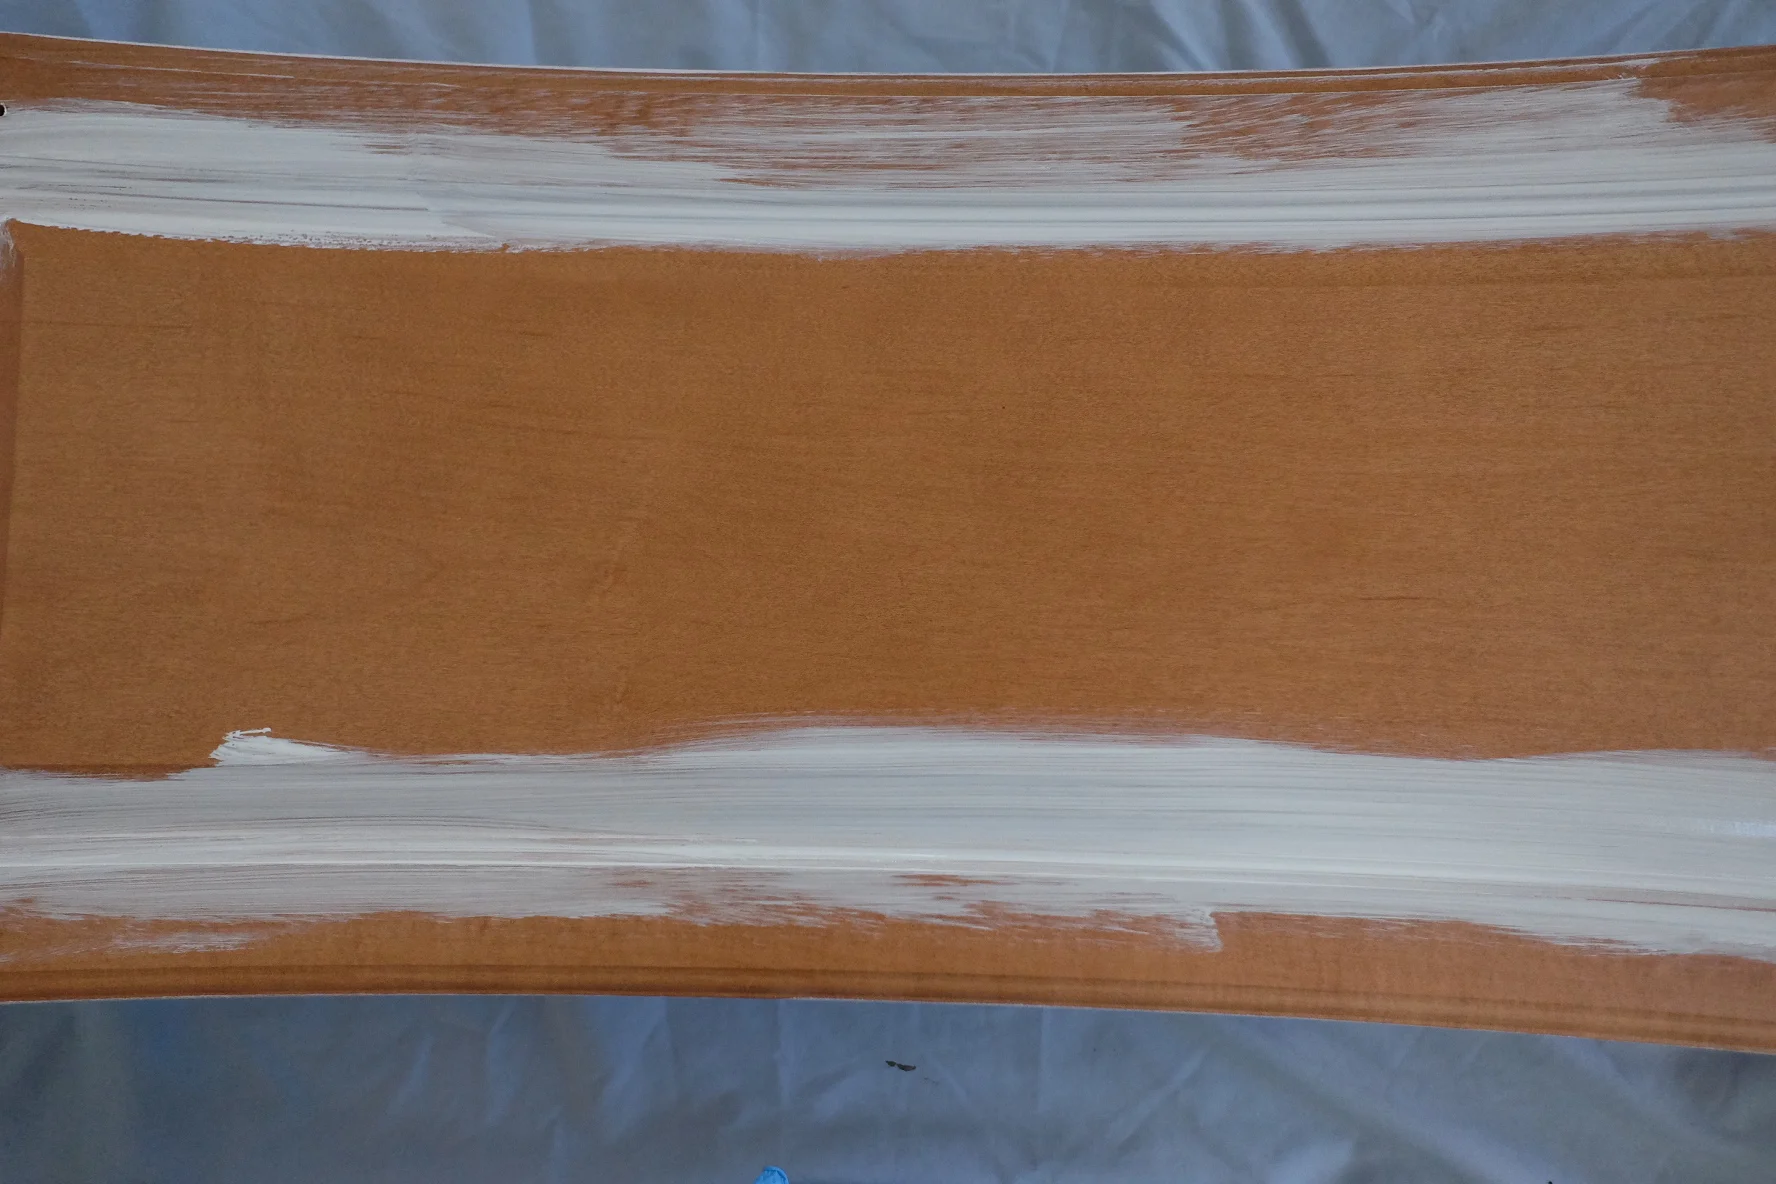
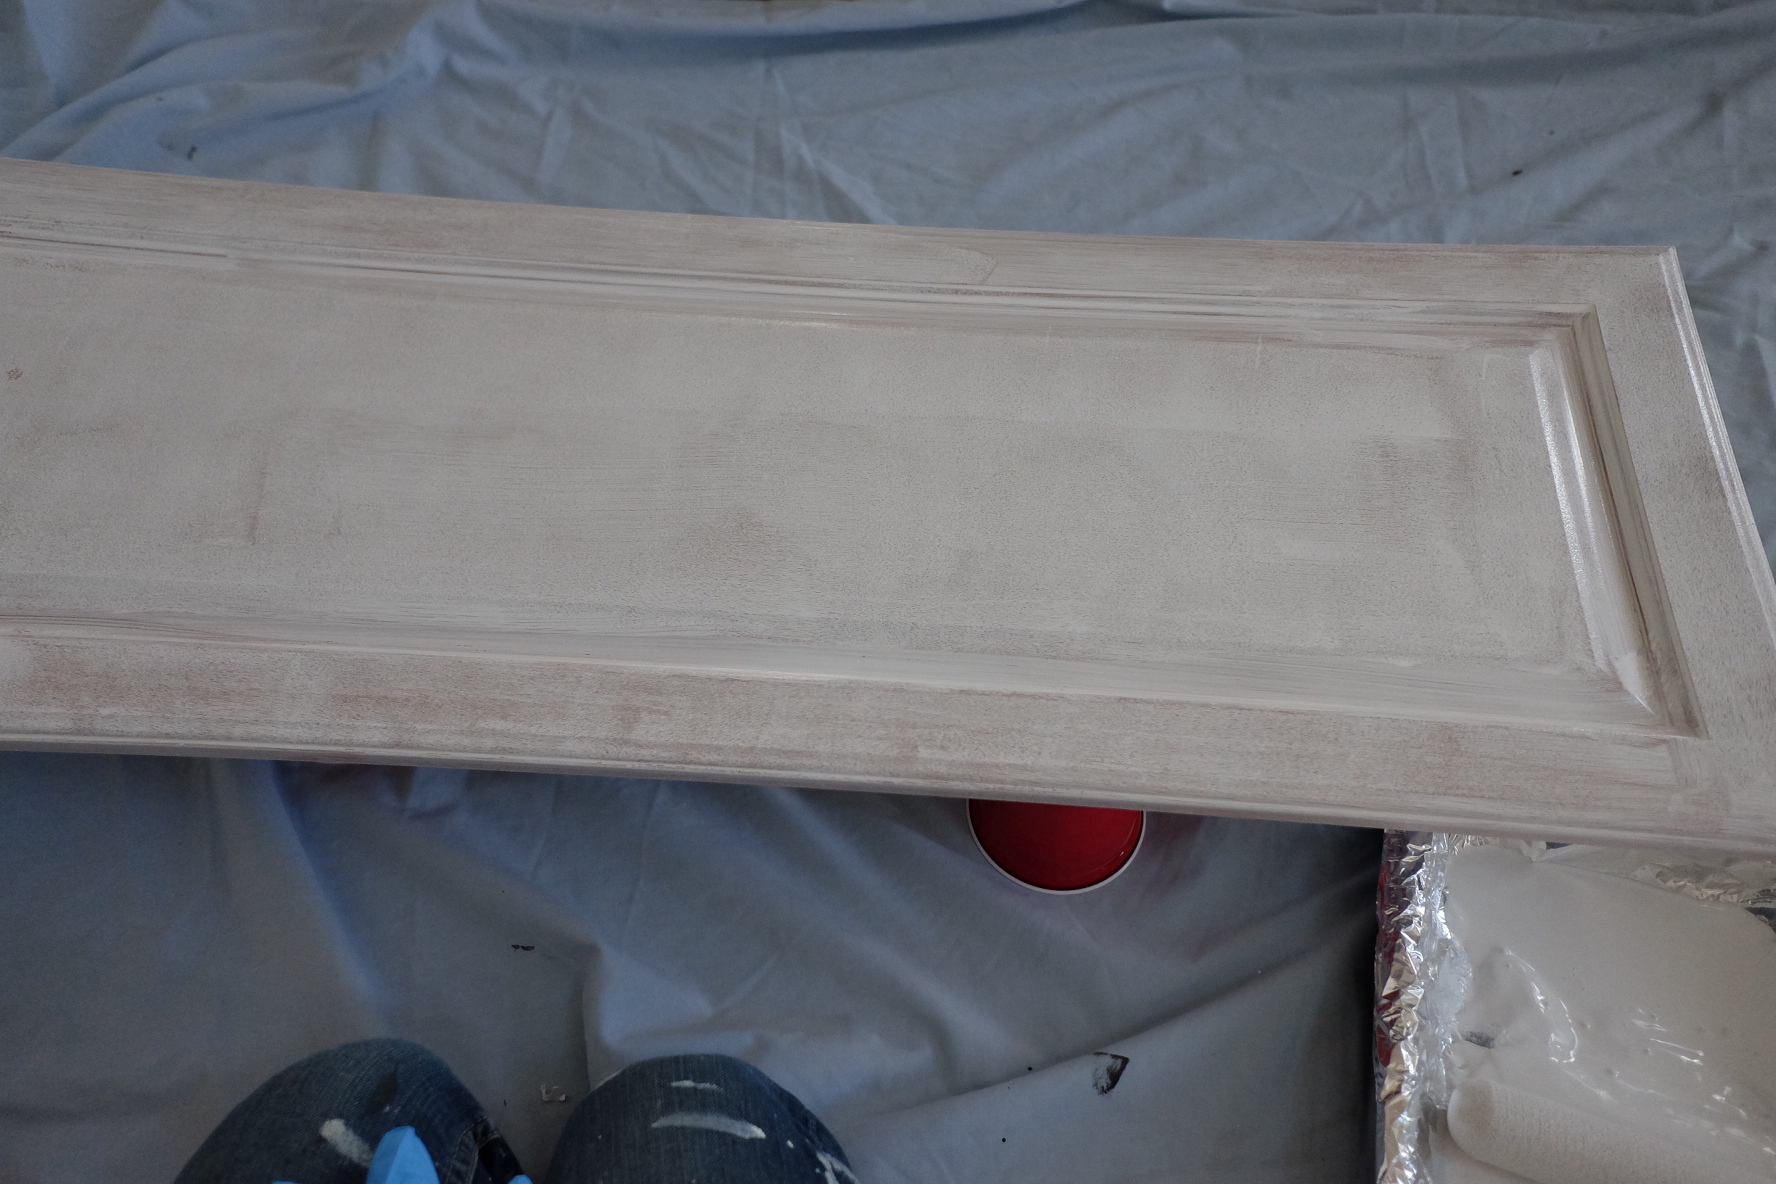
6. Prime cabinets
This is where you begin to slowly see a transformation. I have used several products - Ben Moore, Valspar and Sherwin Williams. With this project, I'm using Sherwin Williams (Water-Based Acrylic-Alkyd) which cleans up with water and provides an excellent sealant.

Start off by painting the cabinet doors. Paint the inside edges first with the angled brush and then roll on the rest. I highly recommend you using a foam roller that is designed for painting cabinets. They will allow for the paint to dry smoothly as if you've sprayed the cabinets.

The next step is to prime the cabinets attached to the wall. As you can see from this picture, I do not usually paint the inside of my cabinets You surely can - it will just mean that you'll have to give yourself more time with this project.

Flip your cabinets over and prime the other side. I start by priming the inside of the cabinet faces and then flip them over to the outside.
7. Paint cabinets
This is my favorite step! Paint the cabinets the same way that you primed them. (Cabinet faces, moldings/frames, etc.) It will probably take 4 hours for the paint to dry before you can put another coat on. You really want to make sure the paint is dry before you put on the next coat.


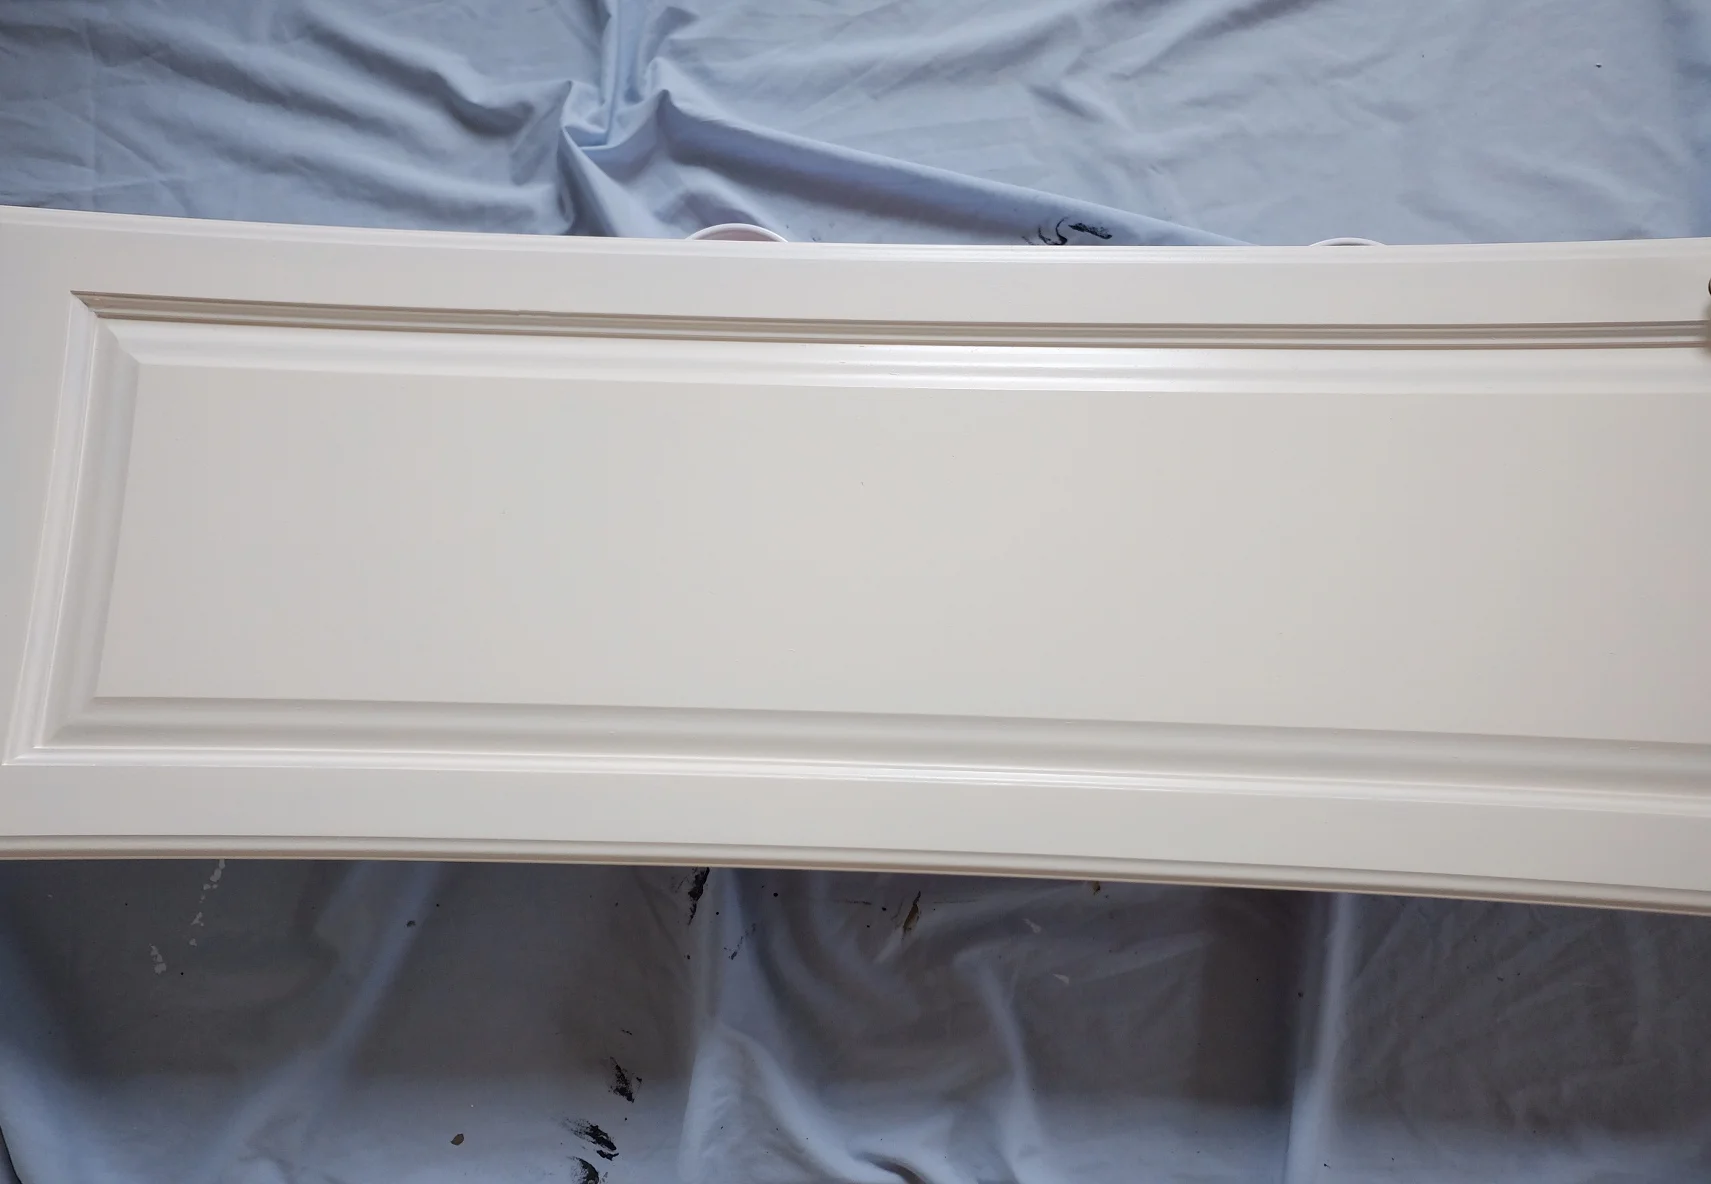
I recommend 2-3 light coats of paint rather than 1 thick coat. Keep an eye out for drips and once you've covered the surface with a coat of paint DO NOT paint over it as the paint may lift. If you've missed a drip or find a spot that is not smooth, wait until the paint dries, then sand it lightly and paint over it.

8. Attach Hardware

After your cabinets have dried, then you can attach your hardware. You can change the look of a kitchen simply by updating hardware/knobs. I love this!
9. Hang Cabinets
I replaced four of my cabinets with glass ones as you can see from the pictures below. You can do this by ordering them from a cabinet shop (which is what I did) or by taking your existing cabinets to a glass shop and they can take out the wood panes and replace them with glass. Glass cabinets help to break up the space in your kitchen and add a fun design element.
10. ENJOY!
You did it! I knew that you could! It's not that difficult but does take a bit of time and patience. I would love it if you would take pictures of your kitchen renovation and send them to me. Here are a few pictures of the finished product. You can see how a little paint goes a long way in updating and brightening up your kitchen!

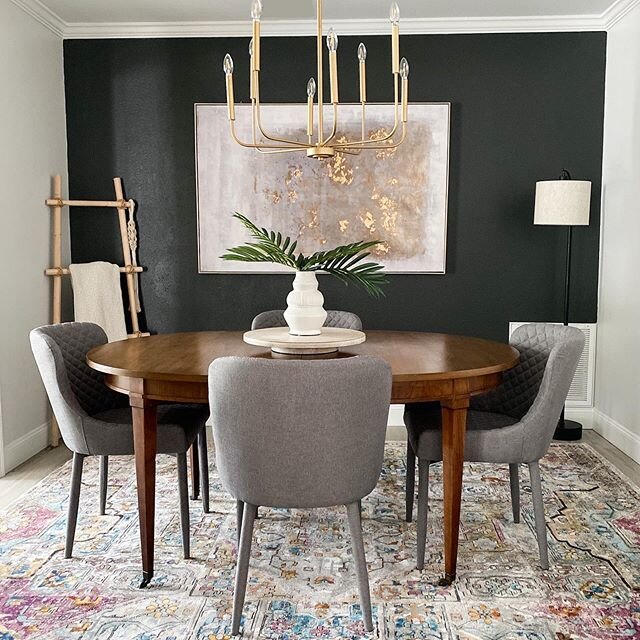
Paint: Shell White SW 917 (Satin finish); canvas Print: The wooded lane; Pendant lights: lowes


paint: Shell White SW 917 (satin finish) ; stools: pier 1 imports, backsplash: Carrara marble; pendants: Lowe's

Our Fixer Upper - turned Airbnb (in Frederick, MD).....

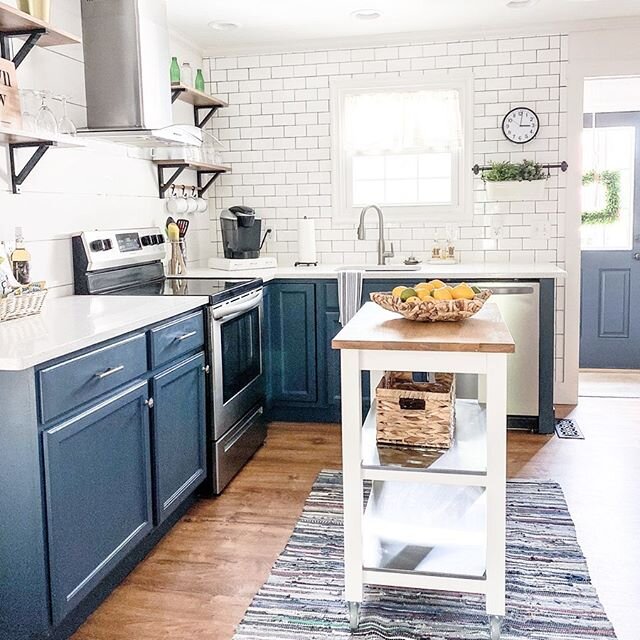
Paint: Valspar cabinet paint -pure white (semi-gloss), rug: TJ MAXX, Chandalier: Home Depot (spray-painted black); pendant lights: lowe's; backsplash: white subway tile w/DeLorean Gray grout)

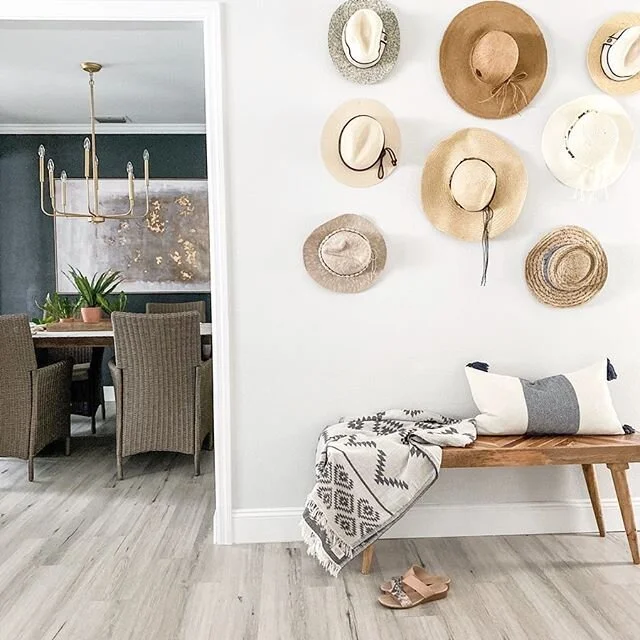
barstools: Marshalls; door paint: tricorn black SW 6258; wall color: drift of mist sw 9166; wreath: homegoods; lights: lowe's

These are the same cabinets....just painted white. Amazing what a little paint can do. Right?
Friends, thanks for stopping by and reading through this tutorial. Please let me know if you have any questions. I would love to help you if I can.
Happy painting!