
How to Remove Popcorn Ceilings
/
Hello friends, I've missed you! I've been traveling quite a bit lately so I haven't had the opportunity to blog, but I'm finally making some time to share with you today!
How many of you have popcorn ceilings in your home? If you love them...GREAT! If you don't...then this blog is for you! :-)
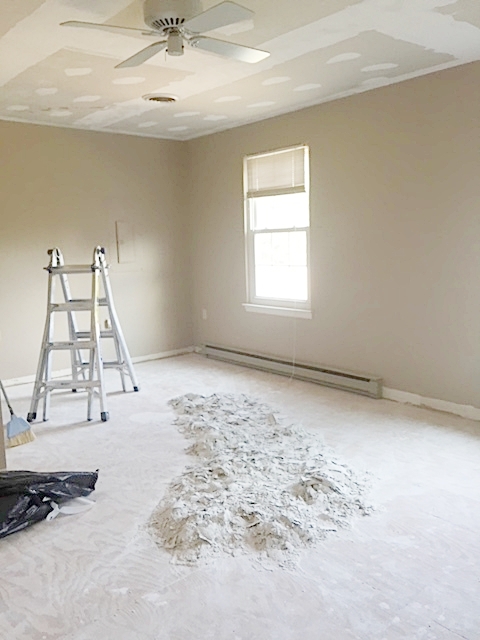
For those of you who are new to following my blog or Instagram, my husband and I purchased a bank-owned property several years ago and turned it into an Airbnb. We call it "Our Uptown Cottage." This home was built in the 80's when popcorn ceilings were all the rage. For those of you who have no idea what I'm talking about...below is a picture of these ceilings which show a type of texture placed on ceilings using a paper-based or Styrofoam product.
Well, let me just say....they are not the prettiest of ceilings right now. So, when we originally walked through this home which had popcorn ceilings in every room...I knew they would be the first thing that must come down!
I will warn you....this project is definitely an easy one...but also a very messy one! If you plan on doing this in your home, you may want to take out your flooring first or tape down plastic to protect your flooring because what is on the ceiling...will come down! :-)
Here are the things you will need for removing this dated popcorn look:
A mask, eye goggles, a scraper, a water bottle, and a ladder.
Note: I started off using this bottle filled with water and moved on to using a weed sprayer filled with water. You can find these at Home Depot or Lowe's. I recommend the weed sprayer because it soaks the ceiling better which makes for easier removal.
1. Spray a small section of the ceiling with water.
I sprayed sections that were about 3' x 3'. Let the water soak in and sit for 5-10 min.

2. Scrape off the popcorn using your scraper.
The water soaks into the texture and allows you to scrape this off very easily. Make sure you have your mask and eye goggles on so that you don't breathe in the dust or get it into your eyes!

3. Repeat the process.
Move your ladder to another section and do this over and over. Like I mentioned earlier...this is a messy job, but it is easy, effective, and budget-friendly!

Your ceilings will begin to look like smoother (with the plaster on the areas that have been taped) and your floors will begin to look, well, let me say...not so good! Ha!
Make sure to keep a broom and "extra" tough trash bag handy to collect all of the ceiling droppings.

After you are done with the scraping of your entire ceiling, the next step is to sand the seams of the plaster and any popcorn areas that were left behind. You will need a sanding block and a towel to wipe the ceiling. Make sure to keep your broom handy (feel free to use a newer broom than mine! ha!) and wear your goggles and mask!

After you've swept your floors and cleaned up the dust from this task, you can now paint your ceilings. But first, make sure you admire all of your hard work!!!

The next step is painting your ceilings....
I used Behr Ceiling Paint and painted the outside edges with an edging brush then moved on to painting the inside of the ceiling using a long handle on my roller.


After this is done...your ceilings will look brand, spankin' new! You will love your ceilings and guess what? You've now added value to your home as well!
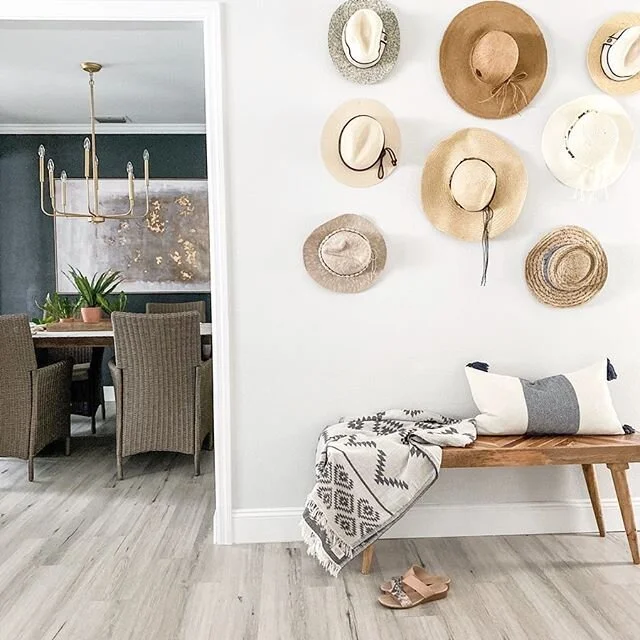
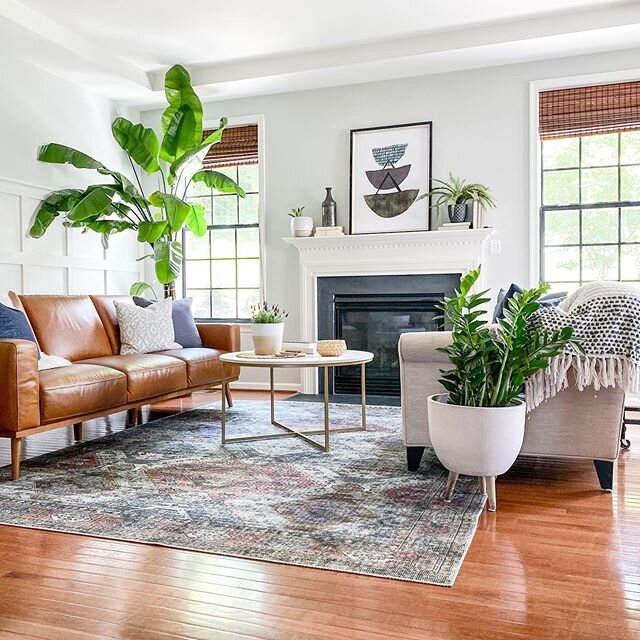
Here is a picture of how a few of the rooms look now that they're staged.. Look at these gorgeous ceilings! So worth all of the mess!


I hope this inspires you today! This is a great project that will bring a little love into your home!
Hugs from afar, dear ones!
~ Lisa